How To Add A Custom Subdomain

Sarah
Last Update vor 2 Jahren
A subdomain is like a separate section or department within your main website, used to organize different areas of your site under one main web address. For example, if your main website is "example.com," a subdomain could be "blog.example.com" for your blog section or "shop.example.com" for your online store. Think of your website as a big house, and each subdomain is a different room in that house, like the kitchen or bedroom, each serving a specific purpose but all under the same roof.
Subdomains are useful because they allow you to organize your site neatly, create memorable web addresses for different parts of your site, and can even help with search engine rankings by focusing on specific topics or services.
Setting up a subdomain is like adding a new signpost in your website's front yard that points to a new room you've built—it's a way to guide visitors exactly where you want them to go without having to buy a new house.
If you already have a popular website at your main domain (https://customdomain.com) and you're looking to add funnels and membership courses using Lime Funnels, you can easily do this by creating a custom subdomain.
For example, you could set up https://subdomain.customdomain.com for this specific purpose. This allows you to expand your site's functionality without needing a completely new domain, keeping everything organized under your main web address.
Step 1: Log in to your Cloudflare account, select your site and click on the DNS icon at the top

Step 2: Click on Add Record
Step 3: Fill in the following information.
Type: A
Name: only your custom subdomain (in the screenshot, my subdomain is go, so the final URL would be https://go.customdomain.com)
Value: 141.193.213.10
TTL: Auto
Click: Save Record
Proxy Status: DNS Only (Grey Cloud)

Step 4: Click Save
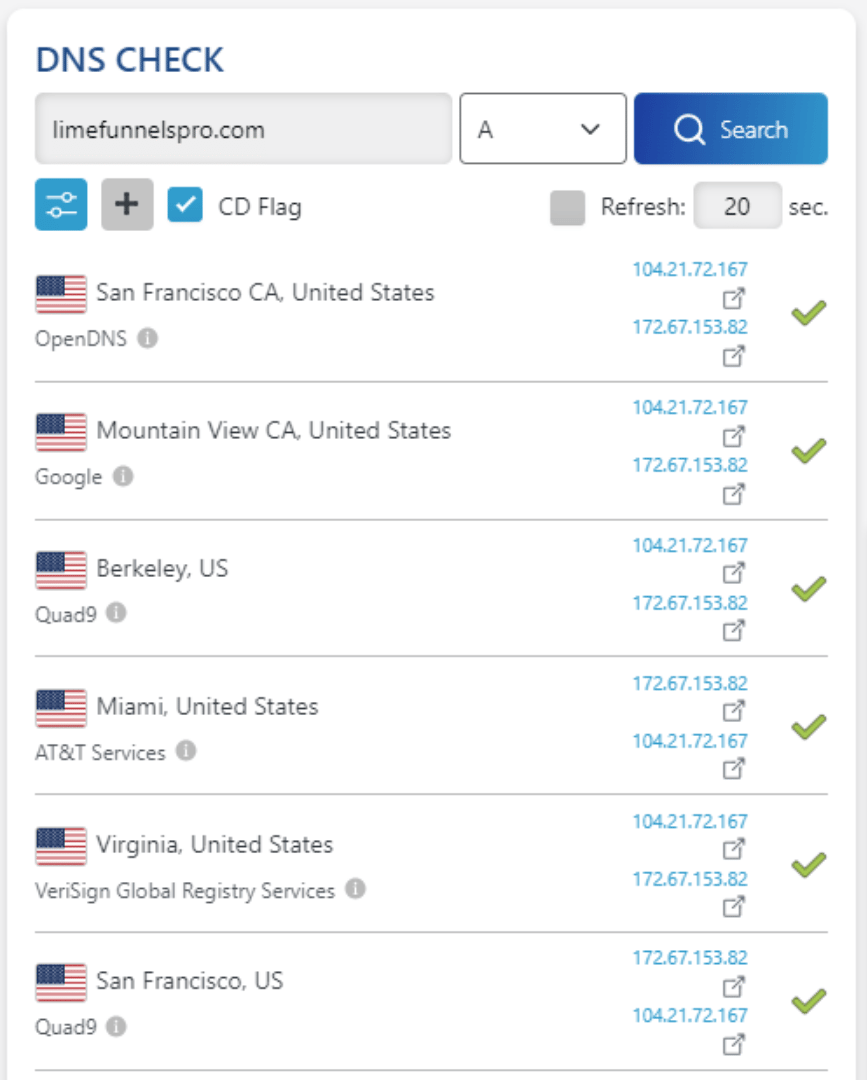
Step 5: Go to dnschecker.org to make sure your subdomain has propagated. Simply type your subdomain in the search field and click the Search button. Your results should look like the below image.
Note:
We want to make sure that our domain is pointing to our IP address. To do that, we use dnschecker.org. It provides a free DNS propagation check service to check Domain Name System records against a selected list of DNS servers in multiple regions worldwide.
If you see that all on the list shows a checkmark, then you're good to go.
Step 6: Log into your LimeFunnels account.
Step 7: Navigate to Settings > Domain Mapping
Step 8: Type in the subdomain that you want to connect. The entire subdomain URL must be included (ex: go.customdomain.com).
Step 9: Click the subdomain link.
NOTE: It may take 5-10 minutes for the site to propagate. If you receive an error, please be patient and revisit the page in 10 minutes. To login to your custom subdomain, visit your subdomain URL + /login:
https://subdomain.domain.com/login
Step 10: Click Save and Deploy