How To Create A Lime Form
Lime Form is a really powerful tool for your marketing objective if you do it right. Below is a tutorial on how you can set up a Lime Form for your pages to gather information and let you engage more with your users.
Log into your Lime Funnels account, and look for the Lime Forms menu.
Step 1: Under the Lime Forms item, click Add New button

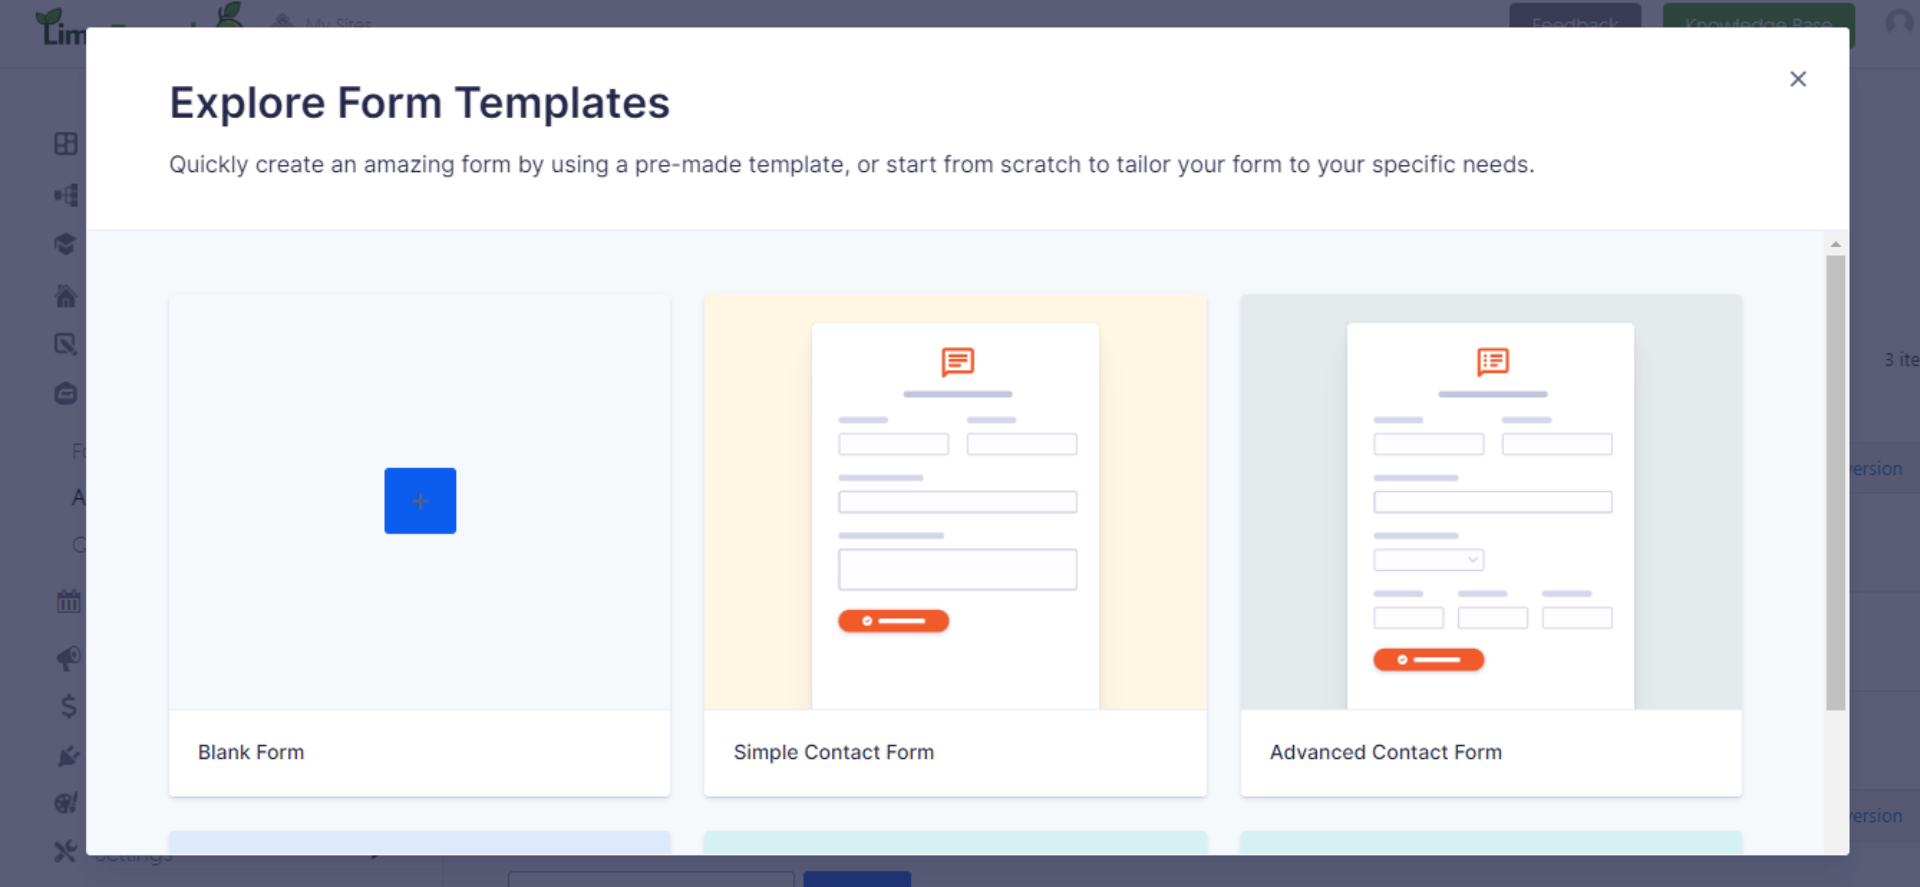
Step 2: Select the template you want to use or choose to edit a blank form.
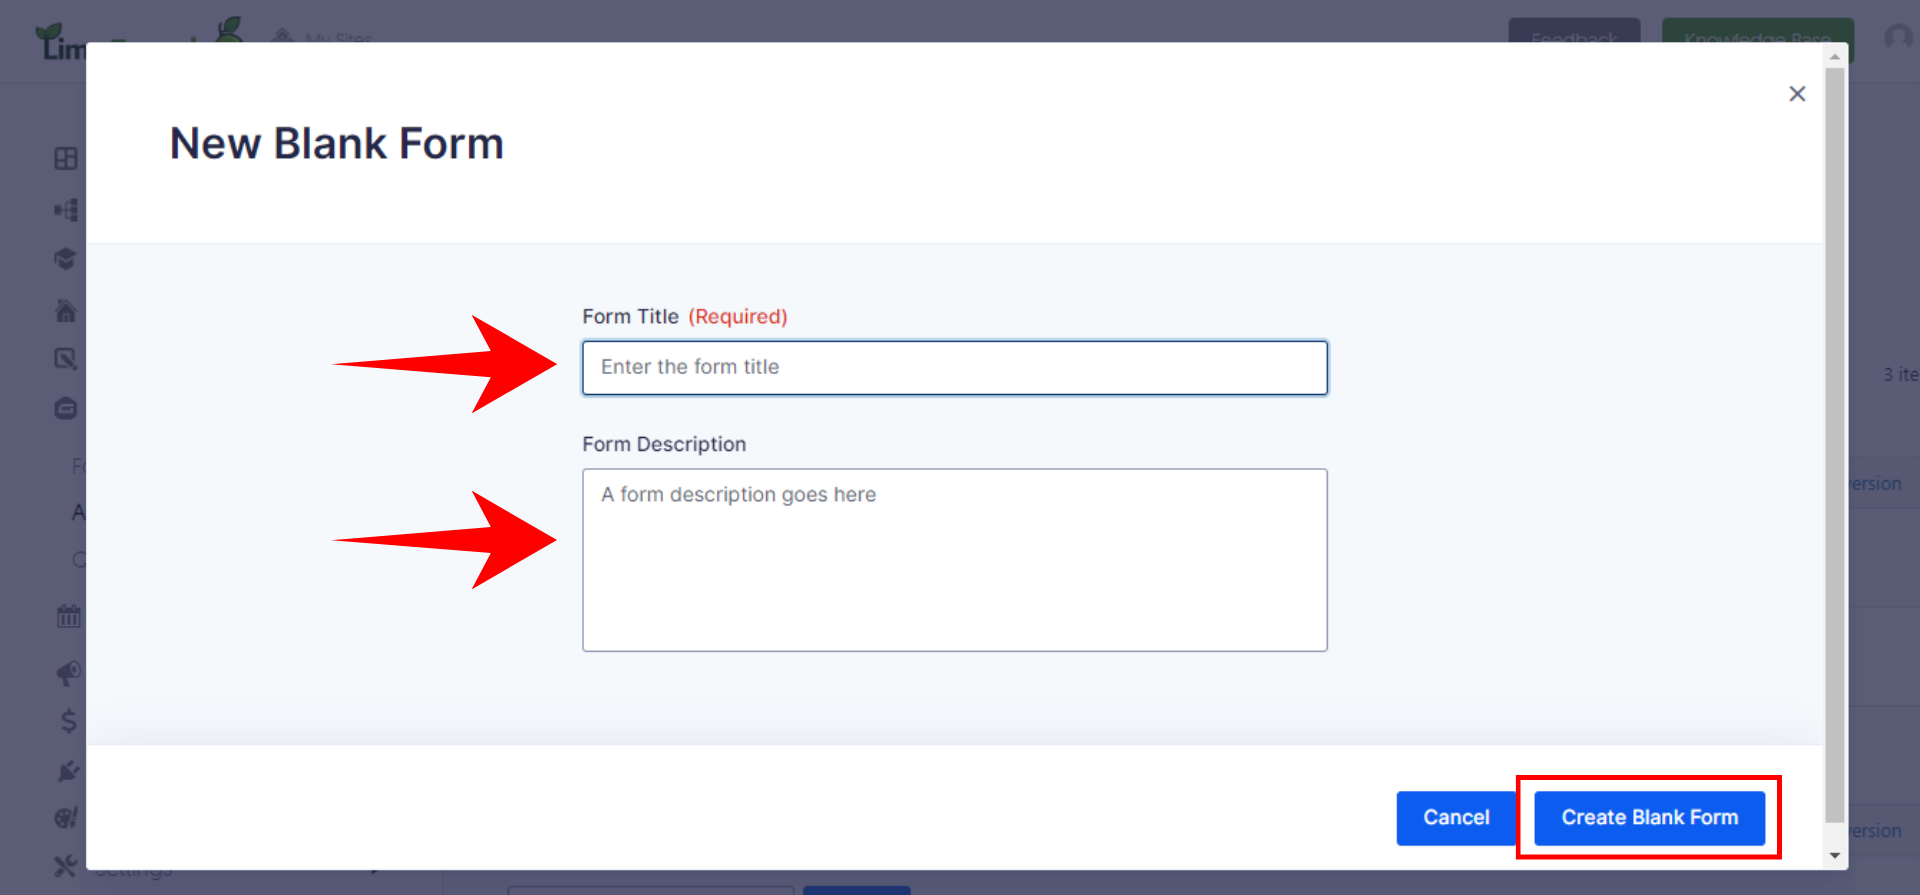
Step 3: Enter the Title and Description of your new form. Then click Create Blank Form (if a blank form is used) or Use Template (if you wish to use a template)
You must give your form a name before you can begin, but you can change that name later if needed. The name is used so you can find your form easily later on.
Step 4: Now you can edit your form using a drag-and-drop feature.
Once finished, click Save Form.
The Form Editor
Top Bar
The top horizontal bar of the Form Editor offers the following options:

1. Shows you the form you are editing, and allows you to quickly switch to other forms.
2. Go to Form Settings.
3. Go to this form’s Entries list.
4. Update the form and capture the changes you have made.
5. Switch the editor to Compact View to make the form fields easier to see and edit. You can also turn on the option to display the Field IDs for each field in Compact View


Screenshot of Compact View with Form field IDs

Screenshot of Standard View
The right-hand side of the Form Editor screen is where you can find the library of all available fields that can be added to your form.
1. The search bar allows you to quickly find any field.
2. Two tabs are offered in this section, under the Add Fields tab it shows all the available field categories.
3. This tab gives you access to the field settings of the selected field and will auto-select when you select a field.
4. All the available fields are shown here, grouped under multiple field type categories. Choose the category you are interested in, and it will expand to reveal all the available fields of that category.

The following categories of fields are available here:
Standard Fields: the simple basics.
- Single Line Text - Allows users to submit a single line of text.
- Paragraph Text - Allows users to submit multiple lines of text.
- Drop Down - Allows users to select one option from a list using drop-down menu
- Checkboxes - Allows users to select one or more options from a list.
- Radio Buttons - Allows users to select one option from a list.
- Hidden - Stores information that should not be visible to the user but can be processed and saved with the user submission.
- HTML - Places a block of free form HTML anywhere in your form.
- Section - Adds a content separator to your form to help organize groups of fields. This is a visual element and does not collect any data.
- Page - Allows multi-page forms.
- Multiple Choice - Allow users to choose from a list of options.
- Image Choice - Allow users to choose from a list of images.
Advanced Fields: multi-part and more complex fields.
- Name - Allows users to enter their name in the format you have specified.
- Date - Allows users to enter a date.
- Time - Allows users to submit a time as hours and minutes.
- Phone - Allows users to enter a phone number.
- Address - Allows users to enter a physical address.
- Website - Allows users to enter a website URL.
- Email - Allows users to enter a valid email address.
- File Upload - Allows users to upload a file.
- CAPTCHA - Adds a captcha field to your form to help protect your website from spam and bot abuse.
- List - Allows the user to add/remove additional rows of information per field.
- Multi Select - Allows users to select multiple options available in the multi select box.
- Consent - Offers a “yes/no” consent checkbox and a detailed description of what is being consented to.
- Appointment - Add a Lime Appointment field to your form
Post Fields: fields associated with Lime Funnels posts, such as tags and excerpts.
- Title - Allows users to submit the title for a post.
- Body - Allows users to submit the body content for a post.
- Excerpt - Allows users to submit data that is then used as the excerpt of a post.
- Tags - Allows users to submit the tags for a post.
- Category - Allows the user to select a category for the post they are creating.
- Post Image - Allows users to upload an image that is added to the Media Library and Gallery for the post that is created.
- Custom Field - Allows users to submit data that is used as a custom field value for a post.
The Layout Space
The main area of the Form Editor screen is where you arrange and tweak your fields. Drag and drop any field you like from the library onto the layout space. Here you can change settings, set the layout order, and even create columns.

Important Note for Lead Tracking: If you want form submissions to also show up correctly under Leads, make sure the form uses the “Name” field type and “Email” field type (not just a plain text field).

If you use normal text fields instead of the proper Name/Email fields, the system won’t recognize them, and the data won’t appear correctly in the Leads section.