How To Create A Course
Course is a structured learning program designed to teach specific skills or knowledge through a series of lessons or modules. Courses can be used for educational purposes, such as training or professional development, and are typically organized into topics that gradually build on each other.
1. Create your course (modules and lessons) - (link to the article on how to do this)
2. Set up the course colors under the Branding settings. (I'll add a screenshot once I'll create a knowledge base)
3. Under Settings tab, edit the following:
Here’s a step-by-step guide for course owners:
1. Create your course (modules and lessons) - (link to the article on how to do this)
2. Set up the course colors under the Branding settings. (I'll add a screenshot once I'll create a knowledge base)
3. Under Settings tab, edit the following:
- Course Title and Slug - You can customize these according to your preference
- Course Visibility - you can choose between these 3 options
- Private Mode
If your course is in Private mode only people who either get an invitation or are assigned the course can see it. Nobody else. Even if those invited share the invitation link with others they won't be able to see your course. - Public Mode
If your course is in Public mode (e.g. you have published it), then all members can see this in there course library. - Draft
If you haven’t finished editing yet and don’t want to publish it.
- Add your Course Thumbnail
- Edit your course dashboard by clicking "Course Editor" button and branding your dashboard to your own preferences.

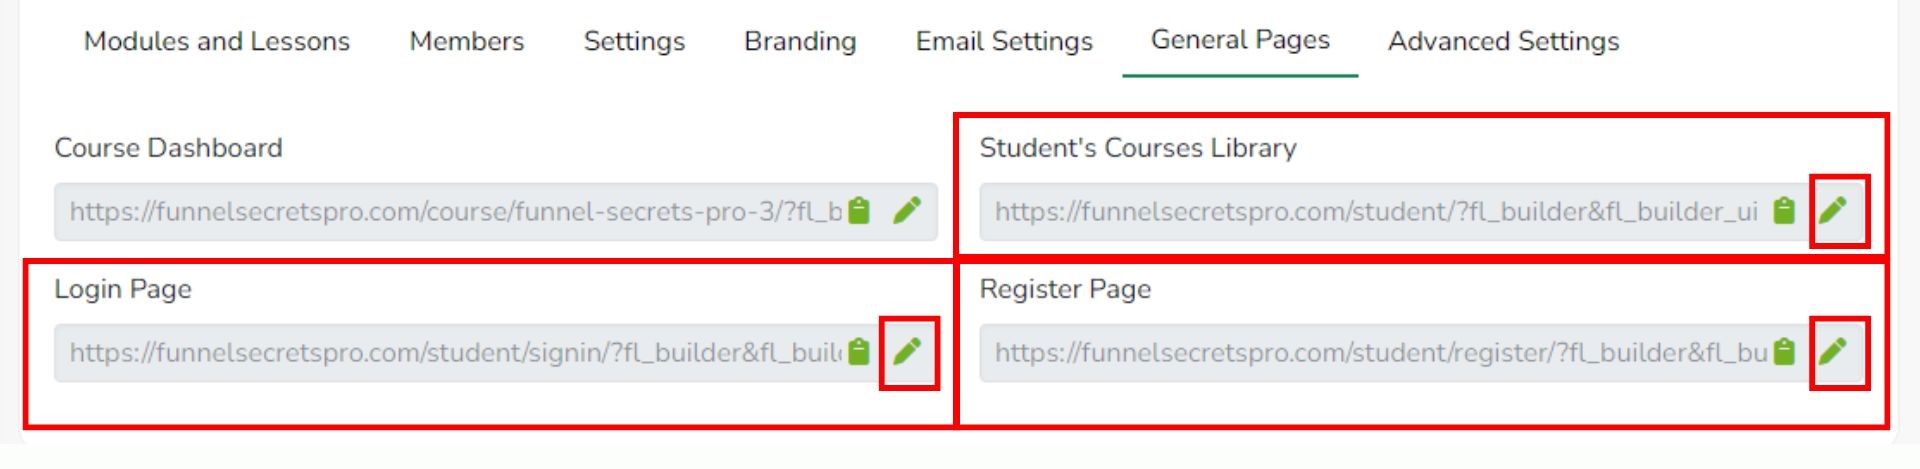
4. Under General Pages tab, edit the following:
- Edit your Student's Course Library - Click the icon in the Student's Courses Library to edit the page
- Edit your Registration Page - Click the icon in the Registration Page to edit
- Edit your Student Login Page - Click the icon in the Login Page to edit
4. Test it - admins can test by adding themselves as a member and using the login details sent to them via email.